SSL or HTTPS in the future will be the standard protocol, as the browser is improving to make it easy for users to distinguish which website is secure, which does not. Even Google places priority on search results with sites that use SSL.
The world’s most popular hosting management system, cPanel has quickly enabled users to activate, use and automatically renew Let’s Encrypt certificates easily and completely with just a few mouse clicks.
Install Let’s Encrypt auto with the Addon in cPanel
With old cPanel
In the domain list below, click the Issue link corresponding to the domain you want to install SSL.
With cPanel the new version
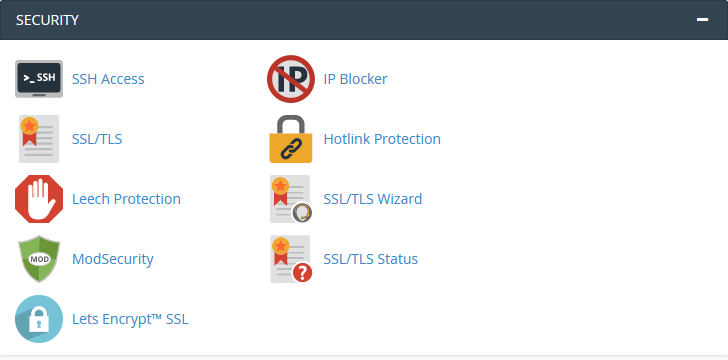
The new version will not have the Let’s Encrypt SSL icon in the Security section anymore as it is located at SSL / TLS Status, you click on it. Open the list of domains, select the domain that you want to install SSL after selecting click on Run AutoSSL system will proceed to automatically install.
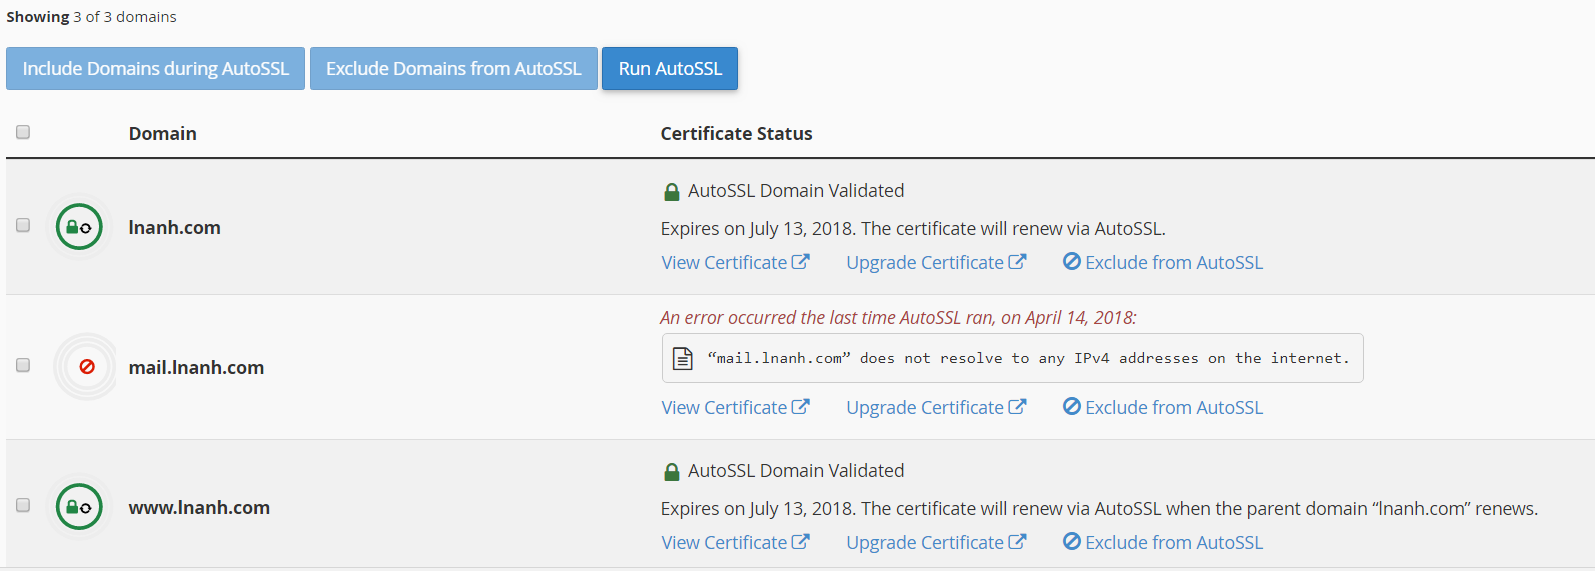
SSL installed via Run AutoSSL will be auto-renew. Test it on the Browser, you will see Green Bar: Secured

Install Manually when cPanel has not the AutoSSL addon
If your Hosting Provider does not support automatic installation, you can do it manually by following the steps below. And to do this, you need to have a FTP account for the hosting package (usually the same as the login information for the host).
Step 1. Create a certificate
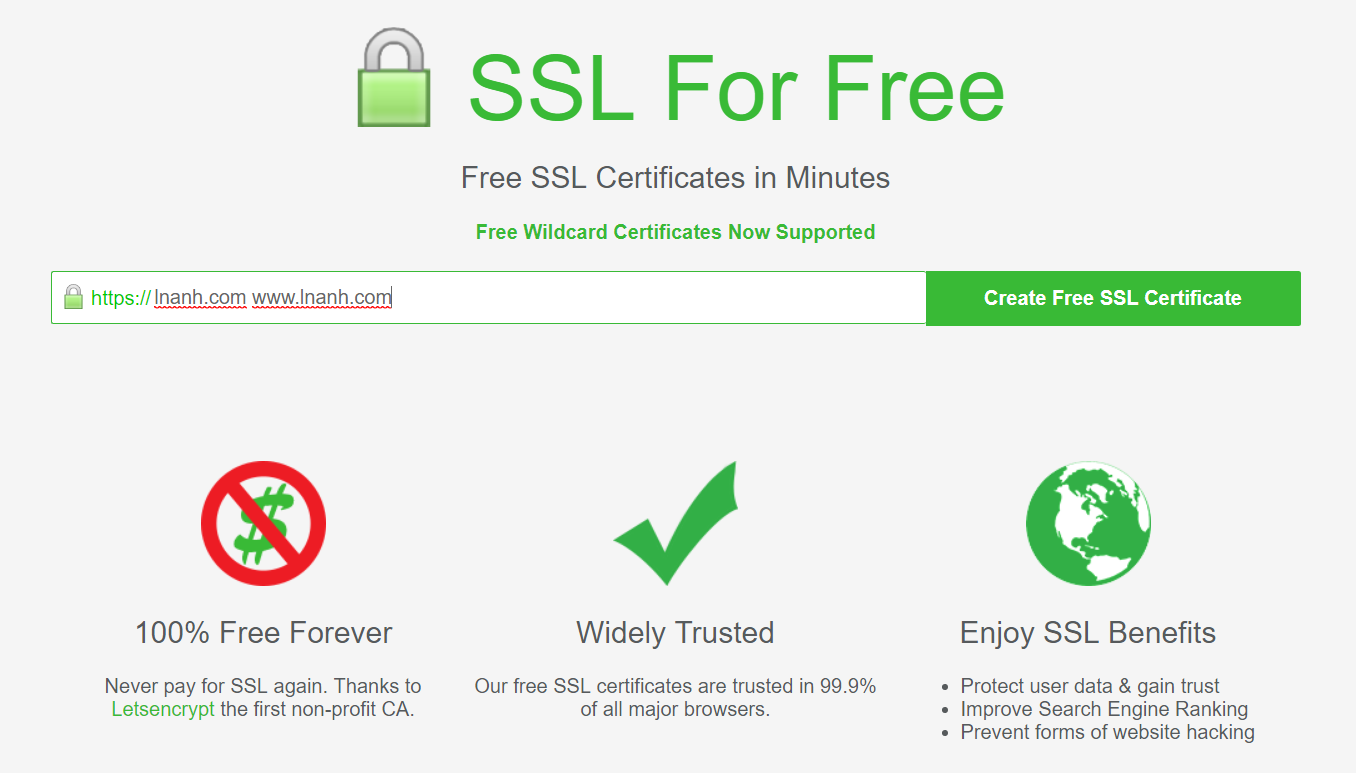
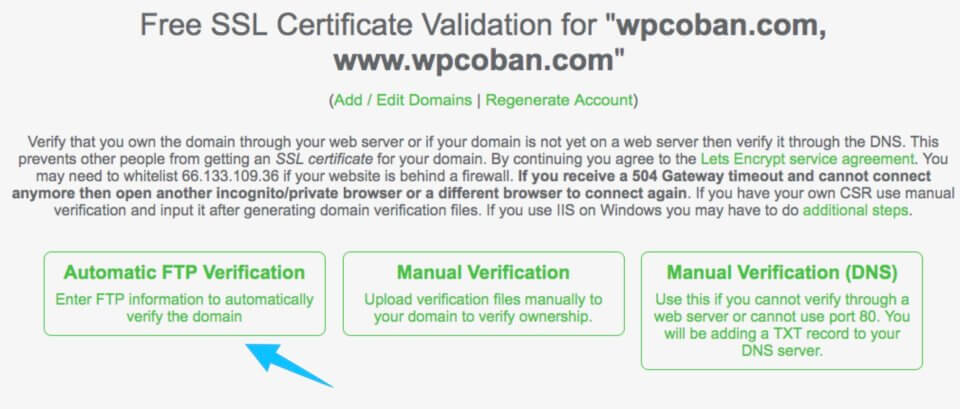
First, go to https://www.sslforfree.com/ and enter your domain name then click the Create Free SSL Certificate button
Then select Automatic FTP Verification.
Then fill in the FTP login information, Directory directory you enter the root directory of the domain to be SSL. If the domain name is set to domain addon or subdomain then you must enter the correct path of that domain, and select Download Free SSL Certificate to complete.
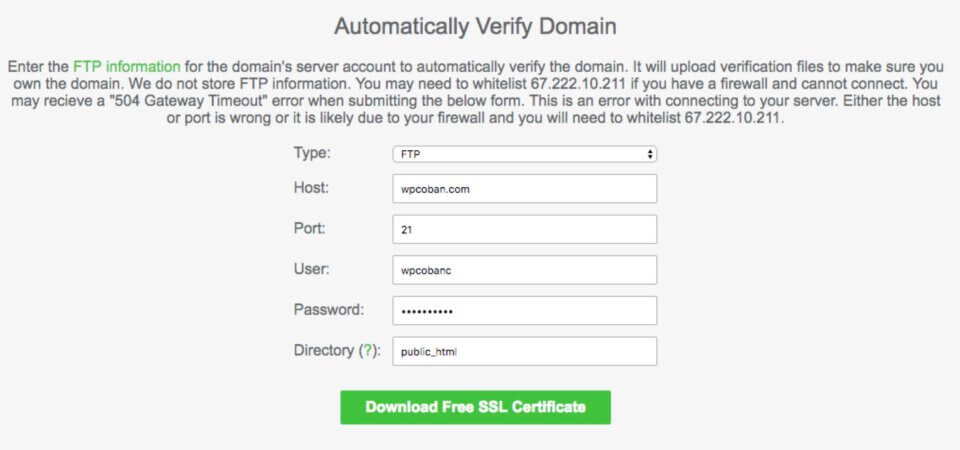
Note: You can choose Manually verification by using FileZilla FTP software.
After the information, you enter is correct, it will give you the following SSL certificate information:

You save that and go back to the cPanel panel of the host to do the next step.
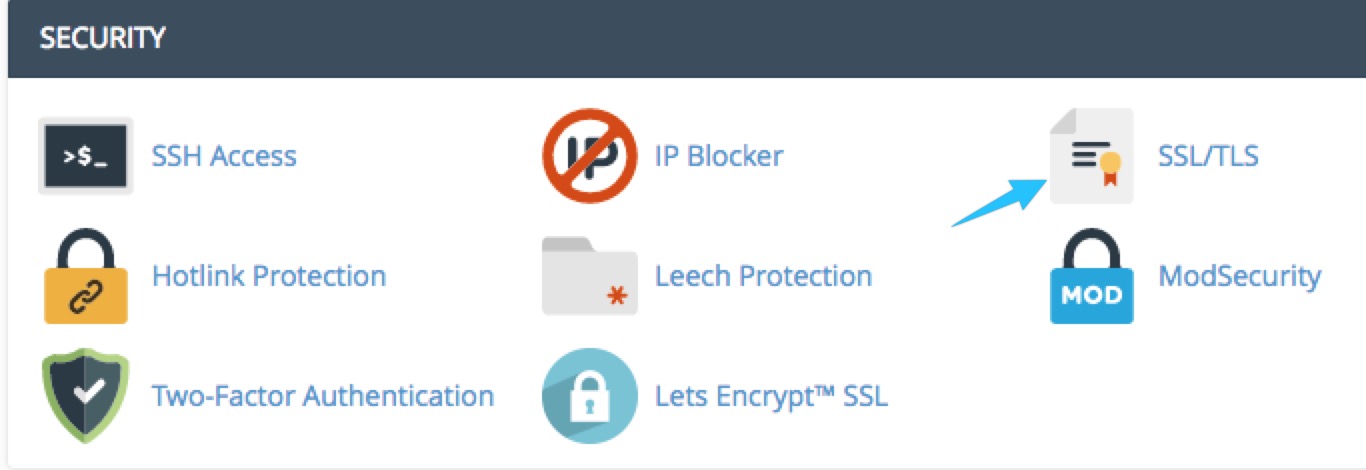
Choose: Manage SSL sites.
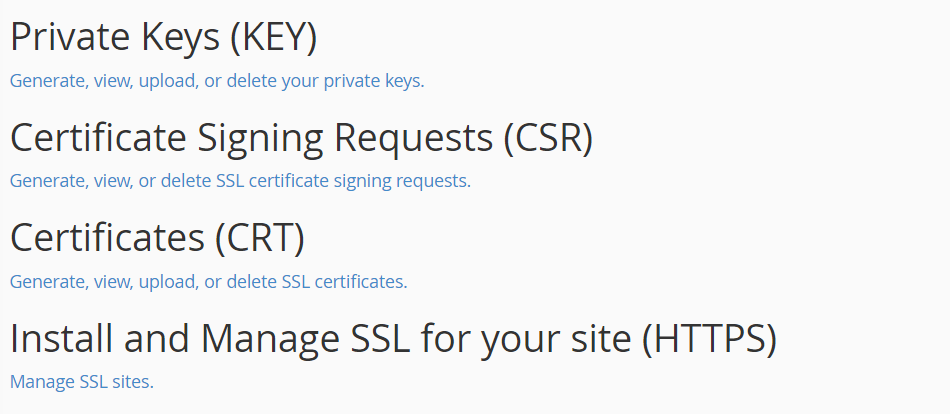
Install Certificate, Private Key and Certificate Authority Bundle by Copy and Paste from sslforfree.com
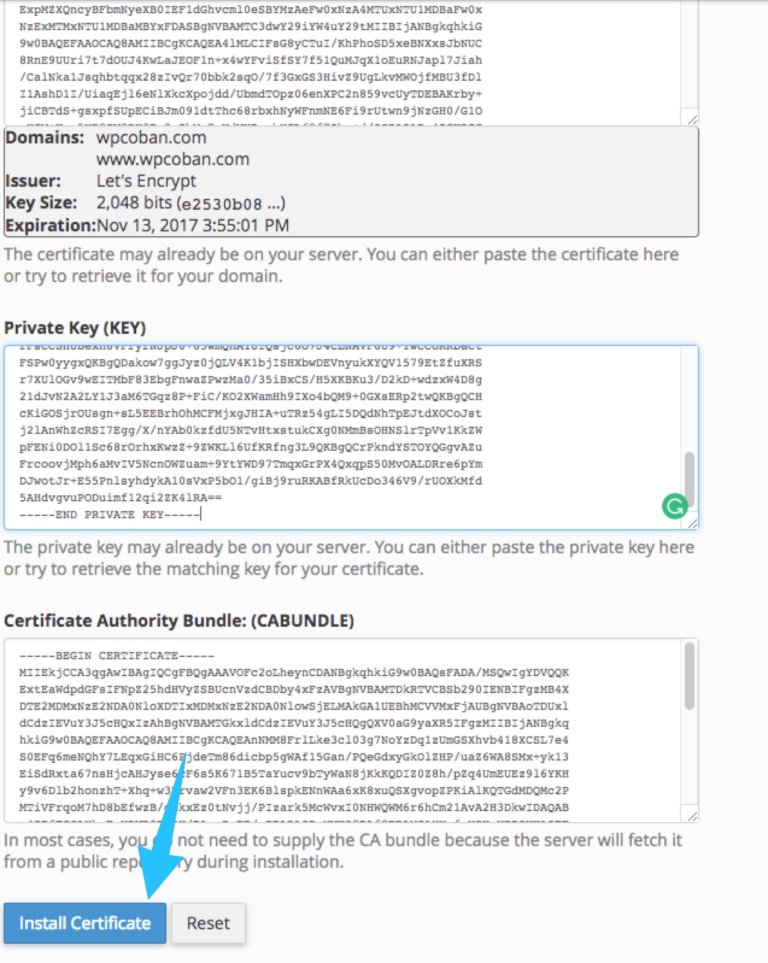
Finally, click on the button: Install Certificate.
If the information you enter is correct then you will get the following message.
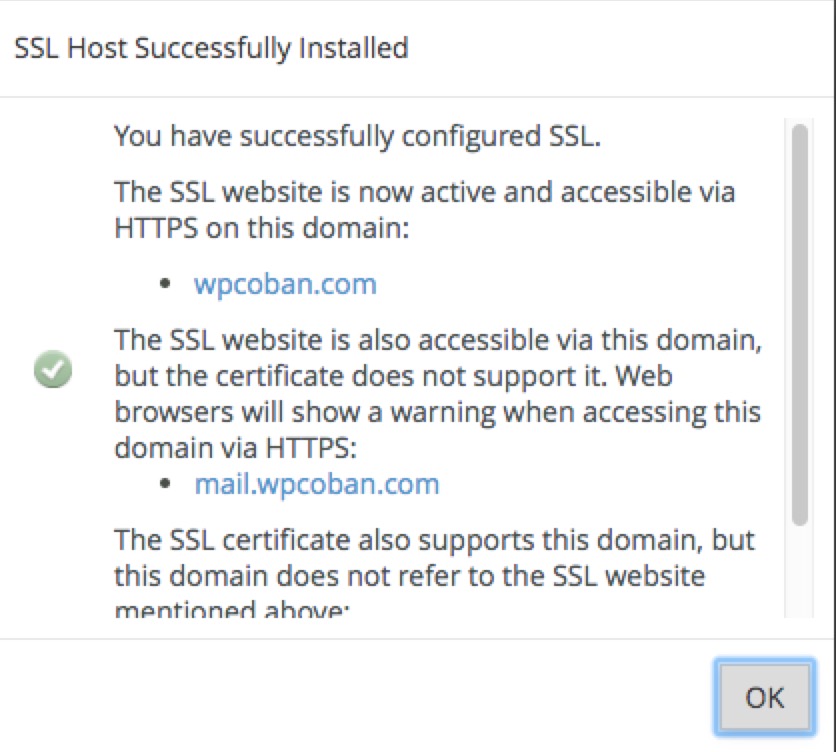
You can now access the website under the https protocol. If you already have a WordPress website, just install the Really Simple SSL plugin.
Note: If you manually install Let’s Encrypt via sslforfree.com, you must renew every 3 months.
This tutorial helps you install on cPanel hosting. If you are using VPS like CentOS. Following this instruction: how to install let’s encrypt on CentOS
