Hello, This tutorial will help you install LAMP on a VPS running Ubuntu 16.04. LAMP stands for Linux, Apache, MySQL, PHP.
To install, we need putty software to connect to VPS. If you don’t know what is Putty and how to use it, you can read how to use Putty software
Install Apache Web Server
Before installing, please update your system to make sure you are using the latest software
sudo apt-get update

sudo apt-get upgrade
Now install Apache 2 Web Server
sudo apt-get install apache2
Check the settings
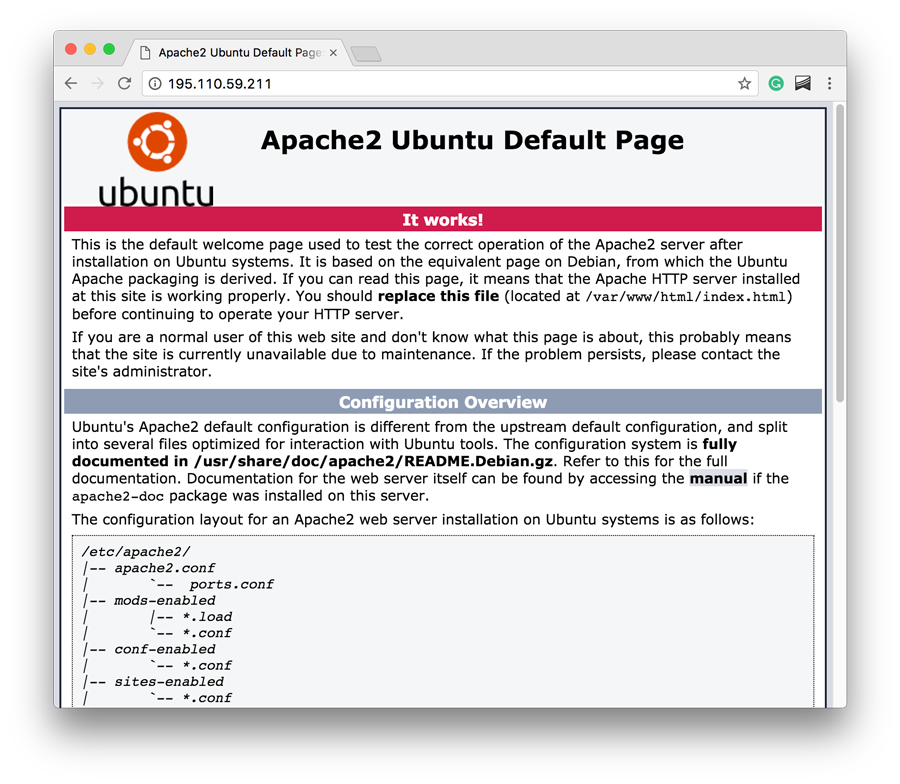
To verify that the installation is successful, open your browser and access the VPS IP
http: // <your_vps_ip_address_here>
If you see a page similar to the following, the installation was successful
If you do not see a web page similar to the one above, do not worry, you may have enabled the firewall. Now allow Apache to run on ports 80 and 443 through the firewall.
sudo apt-get install ufw

sudo ufw allow http

sudo ufw allow https
You can check the current state of Apache using the following command
sudo systemctl status apache2
Step 2: Install MySQL Server
MySQL is the database for your web application. To install the MySQL server, use the following command
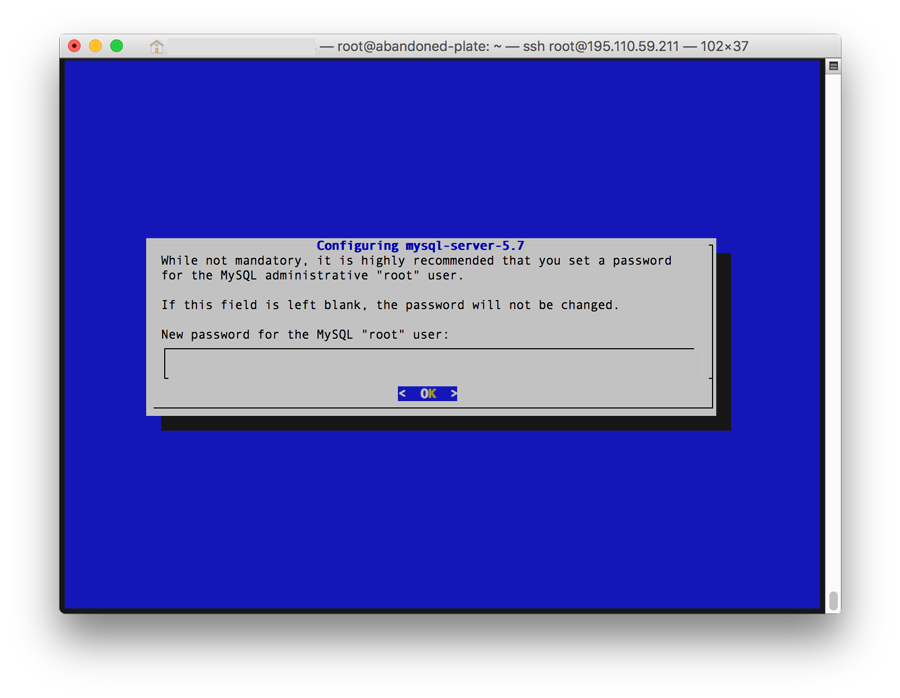
sudo apt-get install mysql-server
During installation, you will be asked for the root account password, set a strong password and remember it, do not leave this blank.
The root account is the highest privilege account in MySQL, you can use it to create new data or create new users. We recommend creating a database for each user.
You can check the current state of MySQL as follows
sudo systemctl mysql status
The screen will look something like this
mysql.service - MySQL Community Server Loaded: (/lib/systemd/system/mysql.service; enabled; vendor preset: enabled) Active: active (running) since Tue 2017-07-11 09:39:40 EDT; 1min 39s ago Main PID: 9579 (mysqld) CGroup: /system.slice/mysql.service └─9579 / usr / sbin / mysqld Jul 11 09:39:39 abandoned-plate systemd [1]: Starting MySQL Community Server ... Jul 11 09:39:40 abandoned-plate systemd [1]: Started MySQL Community Server
Install PHP
PHP executes your application. Install PHP and its additional modules using the following command
sudo apt-get install php libapache2-mod-php php-mcrypt php-mysql php-cgi php-curl php-json
This command will install the latest version of PHP as well as the attached modules.
Verify your PHP installation
Once you have PHP installed, we will check that it is working properly by creating a file like this:
sudo apt-get install nano

sudo nano /var/www/html/test.php
Enter the following lines of code
<? php

phpinfo ();

?
Press Ctrl + X, then type Y and Enter to save
Open the browser to the IP of the VPS
http: // <your_vps_ip_address> /test.php
You will see a page similar to the image
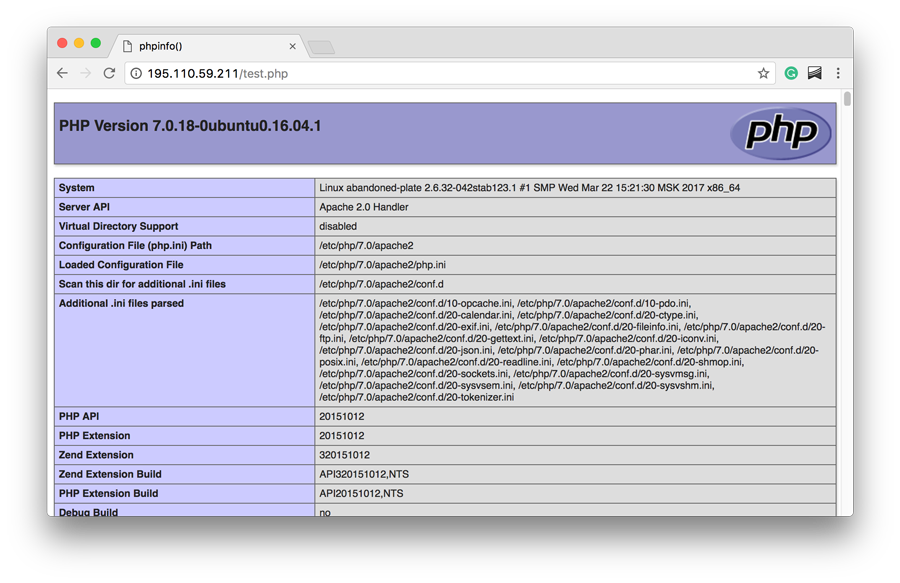
The phpinfo () function in the test.php file will execute and display information about the current PHP settings on the server.
You can delete the test.php file after the test to avoid security risks
sudo rm /var/www/html/test.php
Install PHPMyAdmin
apt-get install phpmyadmin
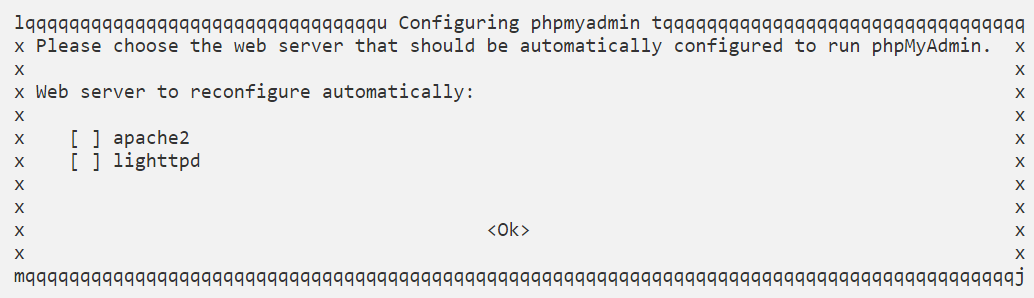
phpMyAdmin will be installed along with its dependencies and all necessary PHP modules.
When you will be prompted to select a web server to configure, hit the space bar to select Apache2 and Enter to confirm and continue
On the next screen, select YES to configure a database for phpMyAdmin with dbconfig-common
Set the Password for the phpMyAdmin User
and finally set a password for the ‘phpmyadmin’ user in MySQL
With this step, the installation of phpMyAdmin is completed.
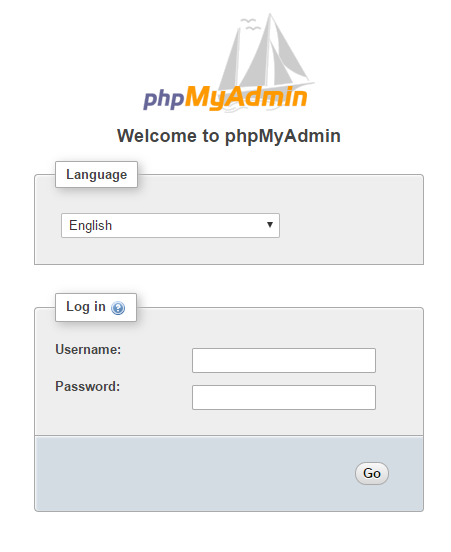
Test and Verify phpMyAdmin Installation on Ubuntu 16.04
You can access it at http://yourIPaddress/phpmyadmin and log in with your MySQL username and password.