If You are using cPanel hosting with Softaculous Auto Installer, it is easy ways to install WordPress on your hosting.

What is Softaculuos?
Softaculuos is one of the most popular installer tools, it helps you install packages like WordPress and much easier.
Follow these steps to install WordPress with Softaculous:
- After accessing cPanel, look for the Softaculous icon and click on it.
- Select the WordPress icon. Much of it will be on the first page of Softaculous.
- You will see the Softaculous WordPress installation window. There are many different settings such as:
- Choose Protocol – Choose the protocol for your WordPress site. If you already have SSL, we recommend that you install WordPress with the HTTPS protocol.
- Choose Domain – If you already have a subdomain and add-on domain on your cPanel, you can select them here.
- In Directory – Enter your WordPress directory here. If you want to install WordPress on the domain’s root directory, leave it blank.
- Site Name – Enter the name of the site.
- Site Description – Description of the WordPress site.
- Enable Multisite – For WordPress Multisite. This feature creates multiple WordPress sites using the same WordPress installer.
- Admin Username – Choose the username for your administrator account.
- Admin Password – The password for the WP administrator account
- Admin Email – Enter your email address. Make sure this email is working and can send normal mail to be used in WordPress related requests such as password reset.
- Select Language – WordPress supports many languages. Select language here.
- Select Plugins – Select the plugins you want to preset.
- Press Install button, Softaculous will start WordPress.
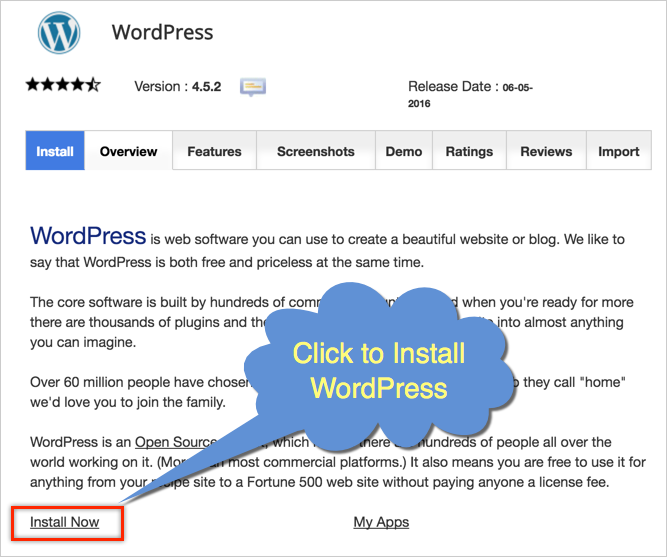
Finally, Click on the administrative URL and use the admin username/password you are created to log in to your WordPress admin to start writing the first post on your site.
Manually install WordPress on cPanel
To manually install WordPress on cPanel, you will need to follow these steps:
First, download WordPress installer source code. WordPress installation files are compressed in .zip files. Save it as you will need it in the next step is upload source code to your hosting.
As you know, there are many ways to upload WordPress files to hosting accounts. One of them is to use the cPanel File Manager:
- Access cPanel and open File Manager.
- Open the public_html directory and click the Upload button.
- Hit Select File and select the WordPress .zip file you downloaded in step 1
- When the upload process completes, the upload icon will turn green. Click the Go Back to “/ home / username / public_html” button .
- Select the .zip file, click the Extract and Extract File (s) to proceed.
- WordPress files are decompressed into the WordPress directory. Unless you want people to visit your site via http://yourdomain.com/wordpress you need to move all your WP files to the public_html directory. To do so, go to the WordPress directory and select all files and press the Move button.
- Delete the WordPress word from the address bar and click the Move File (s) button.
- Finally, select and delete the WordPress directory and the .zip installation file with the Delete button.
If you want to work with FTP Software, you can use Filezilla to upload source on your hosting via FTP.
Create MySQL Database
- Go to cPanel and click the MySQL Database icon.
- Enter MySQL database name.
- In this step enter your login name and password. We recommend using the Password Generator tool to generate automatic and secure passwords. When you are done, click the Create User button.
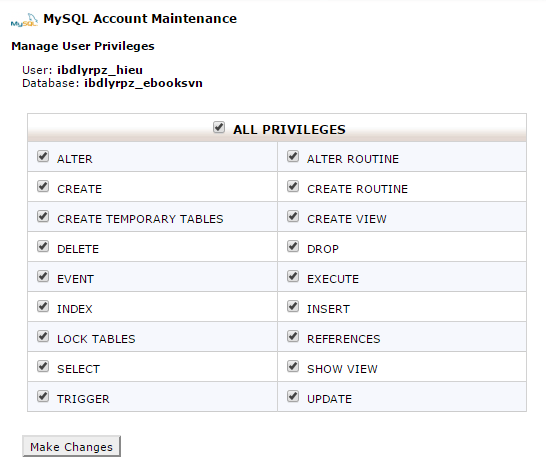
- If you want, you can right-click the user. Select ALL PRIVILEGES and click the Next Step button.
- So MySQL database with username was created.
At this point, all the WordPress files have been uploaded to the server and the MySQL databases have been created. Now you need to proceed with the installation of WordPress by opening the domain in the web browser.
- Select the language and click Continue.
- WordPress will ask for MySQL information. You’ve got the above, so let’s hit Let’s go!
- On the next screen, fill in the information you created in step 3. Hit Submit when done.
- WordPress will check the connection to the MySQL database if no errors appear when you will be able to hit the Run the install button.
- At this step, please fill in the main website and administrator information and press Install WordPress. We recommend using your real mail for installation as you may need it to reset your password if it is lost.
- That’s it, manual WordPress installation is complete.
Now you were successfully installed WordPress on your hosting with cPanel, but some other hosting types with the same control panel do the same thing.
